


Setup Rubocop and Solargraph to work with Visual Studio Code can be sometimes cumbersome. Especially when you use rvm or rbenv and syncing your setting through multiple machines with different usernames.
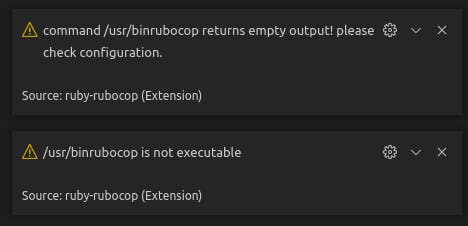
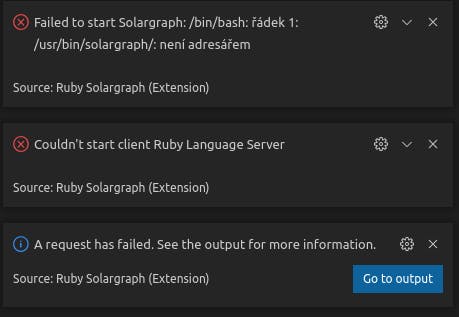
If you ever saw error messages like the ones bellow, this article might help you.
Prerequisites:
Installed Visual Studio Code
Installed Ruby with Bundler
[Optional] *nix based system for multiple machines syncing configuration
Rubocop
Let's setup Rubocop step by step.
- First install Rubocop using a command
gem install rubocop
- Next install VSCode extension for rubocop
- Now open terminal and check where is rubocop installed with a command
whereis rubocop
You should get output similar to /home/your_user_name/.rbenv/shims/rubocop based on ruby version manager and your settings.
If you use VSCode only on one machine go to settings and set the rubocop path like this:
{
  "ruby.rubocop.executePath": "/home/your_user_name/.rbenv/shims/"
}
or through GUI:

Please note, that you paste only folder, where rubocop executable is present.
Multiple sync environments
If, like me, you use VSCode on multiple machines (laptop, desktop, work etc.) and have sync enabled, you can deal with the problem of your username being different on one machine than the others.
We've set a fixed path, so you would have to change path whenever you were working on a different machine.
Simple solution, you've could think and try to set the path like this:
{
  "ruby.rubocop.executePath": "~/.rbenv/shims/" // this is not working
}
This will however not work because as of now, VSCode doesn't support relative path in settings. Check this github issue for more info.
To get it work you have to do these simple steps on every machine, you share settings:
- Create symbolic link to
/usr/bin/folder. Don't forget to addsudo:
sudo ln -s /home/king/.rbenv/shims/rubocop /usr/bin/
- Symlink must be executable, so do it so:
sudo chmod +x /usr/bin/rubocop
- Change your setting in VSCode to a new path:
{
    "ruby.rubocop.executePath": "/usr/bin/"
}
- Now reload or restart VSCode and you're good to go 🚀.
Solargraph
With Solargraph, the setup is almost the same, except some nuances.
- Install Solargraph with:
gem install solargraph
- Install VSCode extension
- Check
solargraphpath and set this in VSCode:
whereis solargraph
=> /home/your_user_name/.rbenv/shims/solargraph
and setup:
{
    "solargraph.commandPath": "/home/your_user_name/.rbenv/shims/solargraph"
}
or with GUI:

Note: Unlike the rubocop you insert full path with executable
For multi environment let's do same as for rubocop executable:
- Create symbolic link to
/usr/bin/folder. Don't forget to addsudo:
sudo ln -s /home/king/.rbenv/shims/solargraph /usr/bin/
- Symlink must be executable, so do it so:
sudo chmod +x /usr/bin/solargraph
- Change your setting in VSCode to new path:
{
    "solargraph.commandPath": "/usr/bin/solargraph"
}
- Reload or restart VSCode and you are ready 🚀.
I hope this will help someone with struggles I've had to setup these tools on multiple machines with sync enabled. If you have any questions, feel free to ask in comments section.